Compatible Devices

Model: Launch Pro, LPi
Please select the relevant set of instructions below:
Launch Pro & LPi:
If your Bushnell Golf Launch Pro is off, hold down the power button to turn it on and the screen will light up.
Once the device is on, tap the launch monitor’s screen and select Settings > WiFi. Connect to your preferred WiFi.
On your iOS device, Mac (Apple Silicon), or PC, connect to the same WiFi as your GC3 or Launch Pro.
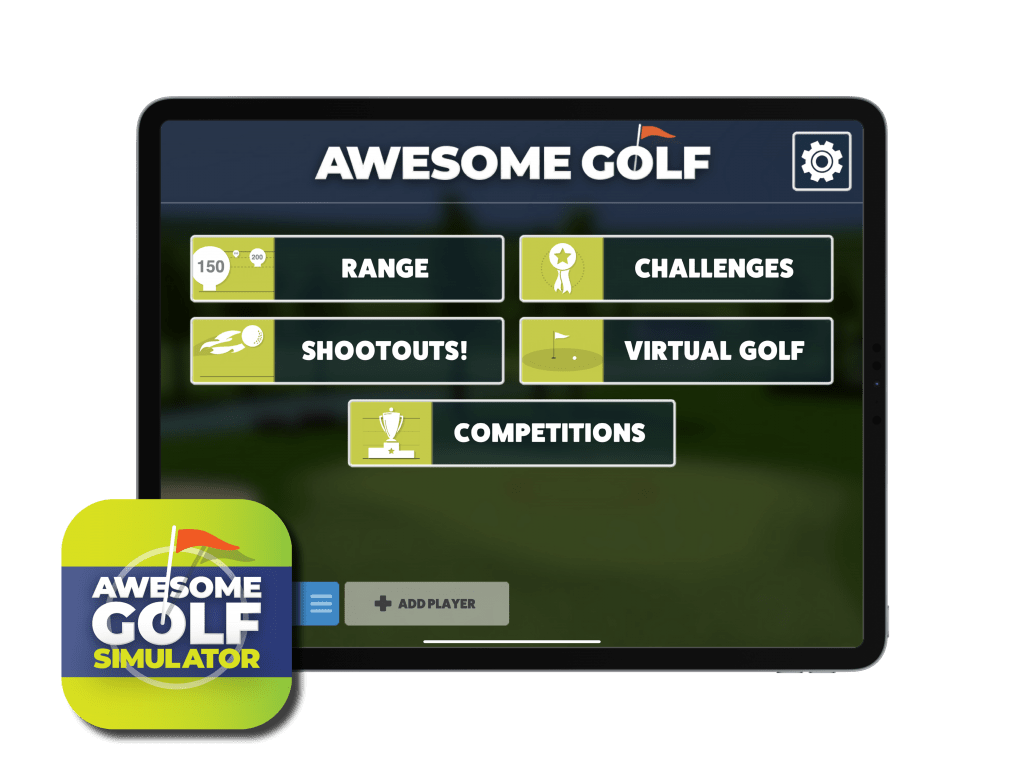
Open Awesome Golf Simulator on your iOS device, Mac (Apple Silicon), or PC, choose Bushnell Golf Launch Pro from the Launch Monitor screen, select WiFi, and start playing!
Please note this connection method requires a secondary internet connection. On iPhones or iPads (cellular) this can be provided by the cellular (4G/5G) connection. On Mac (Apple Silicon) or PC, this can be provided by an ethernet cable connected to your router or using a USB WiFi adapter.
If your Bushnell Launch Pro is off, hold down the power button to turn it on and the screen will light up.
On your connecting device (iOS, Mac, or PC) go to your WiFi settings and a new connection should be available named after your device (e.g. GC3-______). Click on this and enter the password FSSPORTS to connect.
Now use your second internet connection to connect to your preferred WiFi source or cellular data.
Open Awesome Golf Simulator on your iOS device, Mac (Apple Silicon), or PC, choose Bushnell Golf Launch Pro from the Launch Monitor screen, select WiFi (Direct), and start playing!
If your Bushnell Golf Launch Pro is off, hold down the power button to turn it on and the screen will light up.
Once the device is on, connect a USB-C or ethernet cable between your launch monitor and iOS device, Mac (Apple Silicon), or PC.
Ensure your iOS device, Mac (Apple Silicon), or PC is also connected to the internet then open the Awesome Golf Simulator app.
Choose Bushnell Golf Launch Pro from the Launch Monitor screen, select Cable or Ethernet, and start playing!

Model: Approach R10, Approach R50
Please select the relevant set of instructions below:
Approach R10:
Step 1
Install the Awesome Golf Simulator app on the same device as Garmin Golf.
Step 2
Open the Garmin Golf app and connect your R10. Once connected, open Awesome Golf Simulator on your iPhone or Android phone.
Step 3
Select Garmin from the launch monitor menu, then log in and enjoy!
Step 1
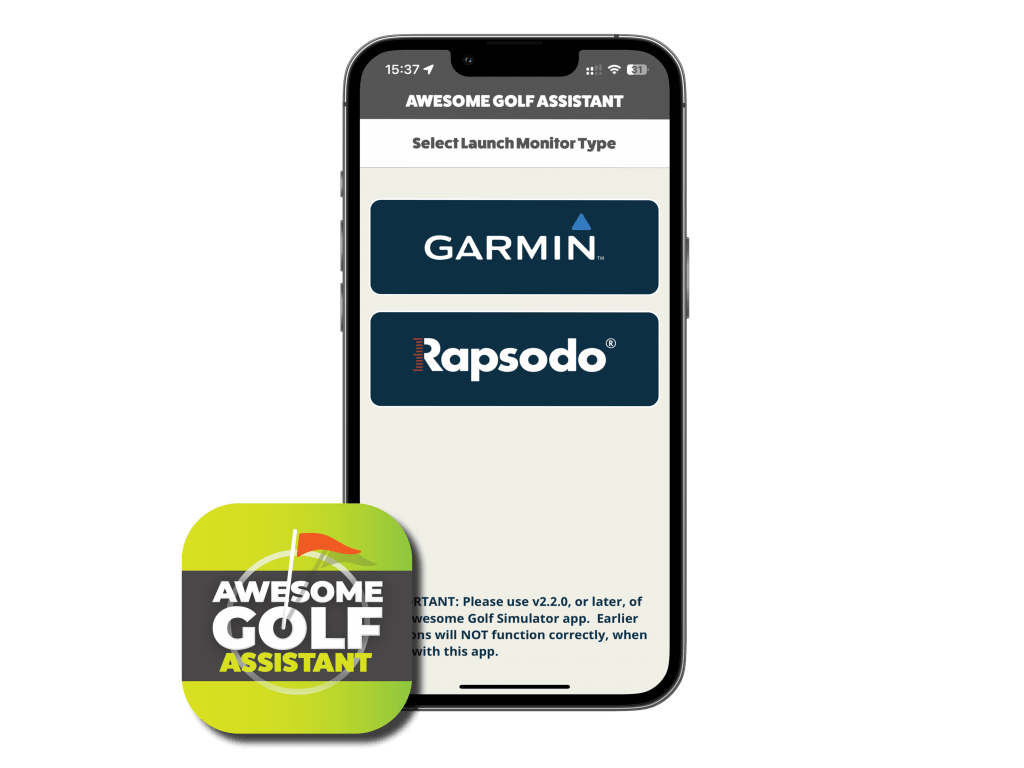
Install the Awesome Golf Assistant app on the same device as Garmin Golf. This app will link your R10 to the iPad or PC.
Step 2
Install the iPad or PC version of Awesome Golf.
Step 3
Open Awesome Golf Assistant on the Garmin-paired device.
Open Awesome Golf Simulator on the iPad or PC.
Step 4
Use the Awesome Golf Assistant app to scan the QR Code.
Keep this app open to stay connected to your R10. Enjoy!
Step 1
Install the Android version of Awesome Golf Simulator on your Android tablet.
Step 2
Connect your Garmin Approach R10 to your Android tablet via bluetooth. You do not need to have the Garmin Golf app downloaded on your Android tablet.
We recommend downloading the Garmin Golf app on another device (iPhone or Android phone) to ensure you can download the latest Garmin firmware.
Step 3
Open Awesome Golf Simulator and select Garmin from the launch monitor menu. Enjoy!
Step 1
Put your Garmin Approach R10 into Discovery Mode.
You can do this by holding down the power button on the back of the R10 until you see a solid blue light.
Step 2
On your PC, connect to the internet and turn on Bluetooth.
Open Awesome Golf Simulator on your PC, select Garmin from the launch monitor selection screen, select Bluetooth Connection. Awesome Golf Simulator will now try and discover your R10. Once found, Awesome Golf Simulator will list your device such that you can select it to connect to. You can now enjoy Awesome Golf Simulator!
I can’t get my R10 into pairing mode, how can I do this?
You can put the R10 into pairing mode by holding down the power button on the back of the R10 until you see a solid blue light. Before the solid blue light is shown, you’ll first see a green light, blue light, the unit then turns off, green light, then blue. Once you see the second blue light, take your finger off the power button and you will be in pairing mode.
More information about the lights on the R10 can be found here.
Approach R50:
First, turn on the Garmin Approach R50 and connect it to your WiFi or a personal data hotspot.
On the Garmin R50’s screen, scroll across twice on the main menu to “Connect” and select Awesome Golf Simulator. The R50 will show a hotspot for you to connect to with a connection name and password.
From your phone, tablet or PC, go to Settings > WiFi, and connect to the device name and password shown on the R50’s screen. Once your device is connected directly to the R50, open Awesome Golf Simulator.
Select Garmin as your Launch Monitor type, and then select Garmin R50 as your device type. Awesome Golf will now look for a Garmin R50. Once found, select the Garmin R50 to connect to it and you will be ready to start using Awesome Golf.
Note: Once the Garmin R50 is connected to your WiFi, it can be discovered by Awesome Golf Simulator as a launch monitor that is ready to be connected to. However, connecting to the R50 is only permitted via the hotspot generated by the R50 itself. Please ensure that the device you are using for Awesome Golf Simulator is only connected to the R50 and not your WiFi. Any other connection methods will cause software or hardware issues.
Note 2: Unlike the Garmin Approach R10, you don’t need the Garmin Golf app to connect to your R50.
If the Garmin R50 disconnects or crashes, your device (phone, tablet, or PC) will no longer be connected to the R50’s hotspot. It may take up to a minute for Awesome Golf Simulator to realise that it is no longer connected to the R50. Please wait for the following instructions provided in Awesome Golf Simulator:
- On the Approach R50, close any dialogs and go back to the Awesome Golf connection screen.
- In this device’s WiFi settings, re-connect to the Approach R50’s hotspot.
- Press the “I have re-connected the hotspot” button below.
- Watch as Awesome Golf attempts to re-connect to the Approach R50.
These steps will help resume your session without losing any data. If all else fails, turn off the WiFi connection on your device (phone, tablet, or PC), turn the R50 off and on, and follow our connection guide above on how to connect.

Model: MLM2PRO
Please select the relevant set of instructions below:
MLM2PRO – Simulator App:
Step 1
Install Awesome Golf Simulator on your preferred device (iOS, Android or PC). Open the Rapsodo MLM2PRO app and connect to your launch monitor.
Step 2
In the Rapsodo MLM2PRO app, go to the Play tab, then Simulation, then 3rd Party Apps and tap Awesome Golf. Select Connect and wait for the “Connection Successful” message.
Step 3
Once you have the “Connection Successful” message, close the Rapsodo MLM2PRO app. You are now ready to connect to Awesome Golf Simulator.
Step 4
Select Rapsodo as your launch monitor and connect via Bluetooth or the Awesome Golf Assistant app.
For instructions on how to use the Assistant app with your Rapsodo MLM2PRO – see below.
MLM2PRO – Assistant App:
Step 1
Install Awesome Golf Assistant on any iOS or Android device. Open the Rapsodo MLM2PRO app and connect to your launch monitor.
Step 2
In the Rapsodo MLM2PRO app, go to the Play tab, then Simulation, then 3rd Party Apps and tap Awesome Golf. Select Connect and wait for the “Connection Successful” message.
Step 3
Close the Rapsodo MLM2PRO app and open Awesome Golf Assistant.
Step 4
Download Awesome Golf Simulator on another device (iOS, Android or PC). You might choose to do this because it has a better display or if the initial bluetooth connection fails.
Step 5
Open Awesome Golf Simulator on your second device, then select Rapsodo as your launch monitor and connect via Awesome Golf Assistant app. A QR code will be displayed.
Scan this QR code using Awesome Golf Assistant on the device that is connected to the Rapsodo MLM2PRO.
Step 6
Success! You can now use Awesome Golf Simulator with your Rapsodo MLM2PRO!
Please note, you will need to keep the Assistant app open during your simulator sessions to maintain the connection.

Model: GC3, GC3S, GCQuad, QuadMAX, GCHawk, Falcon
Please select the relevant set of instructions below:
GC3, GC3S & Falcon:
If your Foresight Sports GC3 is off, hold down the power button to turn it on and the screen will light up.
Once the device is on, tap the launch monitor’s screen and select Settings > WiFi. Connect to your preferred WiFi.
On your iOS device, Mac (Apple Silicon), or PC, connect to the same WiFi as your GC3 or Launch Pro.
Open Awesome Golf Simulator on your iOS device, Mac (Apple Silicon), or PC, choose Foresight Sports from the Launch Monitor screen, select WiFi, and start playing!
Please note this connection method requires a secondary internet connection. On iPhones or iPads (cellular) this can be provided by the cellular (4G/5G) connection. On Mac (Apple Silicon) or PC, this can be provided by an ethernet cable connected to your router or using a USB WiFi adapter.
If your Foresight Sports GC3 is off, hold down the power button to turn it on and the screen will light up.
On your connecting device (iOS, Mac, or PC) go to your WiFi settings and a new connection should be available named after your device (e.g. GC3-______). Click on this and enter the password FSSPORTS to connect.
Now use your second internet connection to connect to your preferred WiFi source or cellular data.
Open Awesome Golf Simulator on your iOS device, Mac (Apple Silicon), or PC, choose Foresight Sports from the Launch Monitor screen, select WiFi (Direct), and start playing!
If your Foresight Sports GC3 is off, hold down the power button to turn it on and the screen will light up.
Once the device is on, connect a USB-C or ethernet cable between your launch monitor and iOS device, Mac (Apple Silicon), or PC.
Ensure your iOS device, Mac (Apple Silicon), or PC is also connected to the internet then open the Awesome Golf Simulator app.
Choose Foresight Sports GC3 from the Launch Monitor screen, select Cable or Ethernet, and start playing!
GCQuad, QuadMAX & GCHawk:
Please note this connection method requires a secondary internet connection. On iPhones or iPads (cellular) this can be provided by the cellular (4G/5G) connection. On Mac (Apple Silicon) or PC, this can be provided by an ethernet cable connected to your router or using a USB WiFi adapter.
If your Foresight Sports GCQuad or GCHawk is off, hold down the power button to turn it on and the screen will light up.
On your connecting device (iOS, Mac (Apple Silicon) or PC) go to your WiFi settings and a new connection should be available named after your device (e.g. GCQ______). Click on this and enter the password FSSPORTS to connect.
Now use your second internet connection to connect to your preferred WiFi source or cellular data.
Open Awesome Golf Simulator on your iOS device, Mac (Apple Silicon), or PC, choose Foresight Sports from the Launch Monitor screen, select WiFi (Direct), and start playing!
If your Foresight Sports GCQuad or GCHawk is off, hold down the power button to turn it on and the screen will light up.
Once the device is on, connect a USB-C or ethernet cable between your launch monitor and iOS device, Mac (Apple Silicon), or PC.
Ensure your iOS device, Mac (Apple Silicon), or PC is also connected to the internet then open the Awesome Golf Simulator app.
Choose Foresight Sports from the Launch Monitor screen, select Cable or Ethernet, and start playing!

Model: Mevo Gen2, Mevo Plus, Mevo Range, Range, Xi, Xi Tour, X2, X3
Please select the relevant set of instructions below:
All models:
Please note this connection method requires a secondary internet connection. With iPhones or iPads (cellular), this can be provided by the cellular (4G/5G) connection. With PC’s this can be provided by an ethernet cable connected to your router or using a USB WiFi adapter.
If your FlightScope Mevo+ or X3 is off, hold down the power button to turn it on and wait until after the double beep before proceeding.
On your connecting device (iOS or PC) go to your WiFi settings and a new connection should be available named after your device (e.g. FS-______). Click on it to connect. The password will be the numbers after the hyphen in the device name (e.g. FS-______).
Now use your second internet connection to connect to your preferred WiFi source or cellular data. Open Awesome Golf Simulator on your preferred device (iOS, Android or PC), choose FlightScope from the Launch
Monitor screen, connect, and start playing!
If you have a WiFi-only iPad, it may be possible to connect to a secondary internet connection via Bluetooth hotspot from another iOS device with cellular connectivity.

Model: Square Golf Launch Monitor
Please select the relevant set of instructions below:
All models:
Step 1
On your device, connect to the internet via WiFi or cellular data.
Step 2
Install the Awesome Golf Simulator app on your device. Switch on your Square Golf launch monitor and open Awesome Golf Simulator.
Step 3
Select Square Golf from the launch monitor menu. The connecting device will then search for your Square Golf launch monitor via Bluetooth. Once found, select your device from the menu and then enjoy Awesome Golf!


